Showing posts with label dress. Show all posts

Sunday, January 4, 2015

Stretching myself

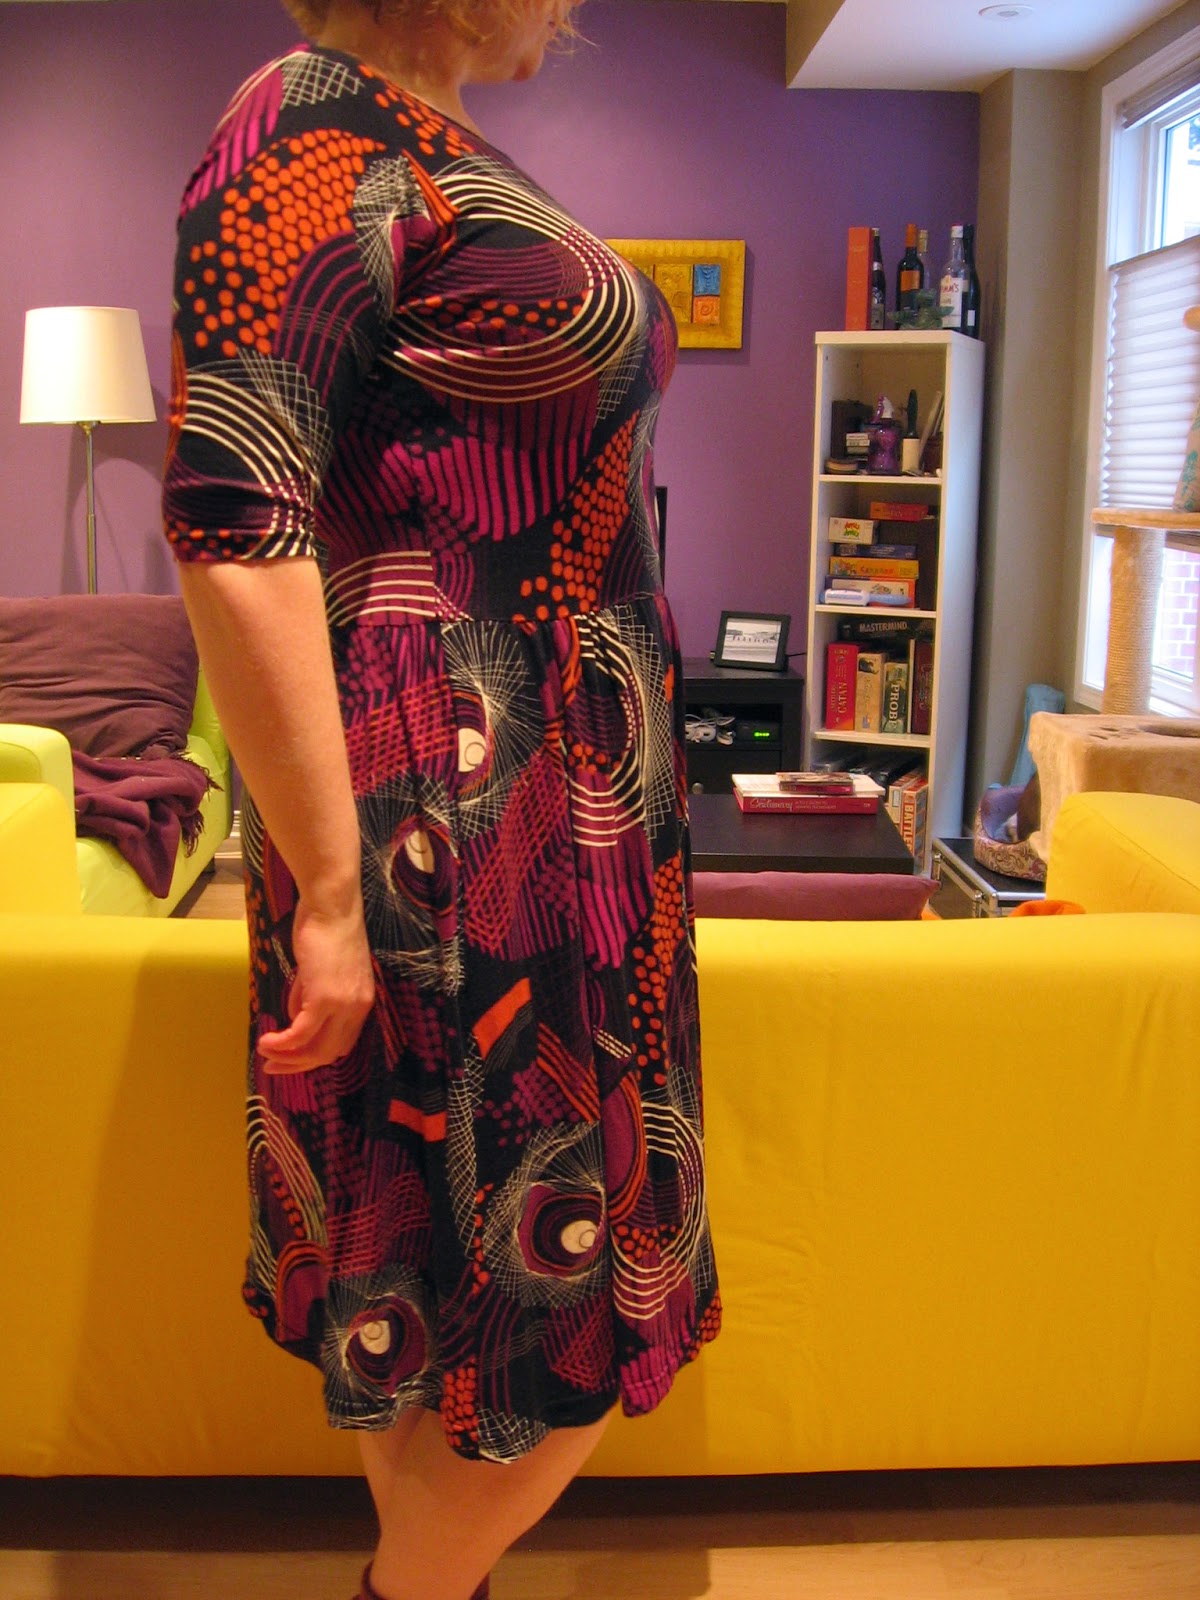
Hello! I'm back, to finally post about the dress I finished just before Christmas. Fair warning, the photos in this post are terrrrrible. Sorry.


Here it is - my first attempt at sewing with knit fabrics. Short story: I like the result, but the process was annoying. Long story, well, that's the post.

This is some of the fabric I bought in London, on Goldhawk Road. It's great, but I suspect possibly not the highest quality, because I think it's already starting to stretch. I found cutting it out to me a massive pain - it kept shifting and stretching, and it was hard to feel like I was really getting the actual lines of the pattern. I'm sure it would be easier with a rotary cutter and mat, but that's just more things to find somewhere to put.


The sewing part was okay - there's a stretch zig-zag stitch on my machine which I used (and a few other stretch stitches, so I'll have to experiment). I even figured out how to set up and thread a twin needle, which wasn't expressly in my machine's manual - I used that to hem the neckline and arms and hem. The actual stitching felt weirdly slow, until I realized that's because it was - the stretch stitch just takes longer to stitch the same length than a regular stitch.

[ETA: the pattern is Colette Moneta. Forgot to mention that!] I didn't bother doing an FBA (the blessing of stretchy fabrics and a pattern that's drafted for a C cup instead of the normal B), but I did add a little length to the front bodice, and did my regular sway back adjustment on the back. It's still a little low in the back waist, so I took another 1/2 " off the pattern for next time. (Looking at the side photo, I might want to add that 1/2" back on to the skirt at the back, hmm.) And there probably will be a next time - despite not loving sewing with stretch fabric, I did like the end result (dresses with sleeves and pockets, hooray!), and I'm sure I'll make it again. And once I figure out the world of knit fabrics, I have a few other patterns lying around to try.

Sunday, April 27, 2014

Pants in the wild

I finished my pants! And I wore them to work, and they (mostly) held up.


It's surprisingly hard to hem pants on yourself - skirts are somehow easier. But pants, pants have two legs that both have to be the same length. Not to mention that I had to decide what length to make them in the first place. But it's done, and I'm quite pleased with myself.

The one small problem is with the zipper - I had to shorten it, since I shortened the crotch length. But I think that stitching came out. It still works, it just comes completely apart if I zip it fully open. I'm pretty sure I can fix that without having to take anything apart.

Yes, I will probably make these again. I really do need more trousers. Sadly, although I made all the adjustments to the leg pieces, I forgot to adjust any of the other pattern pieces (fly, pocket, waistband) so I made all those adjustments as I was going. So they won't be quite as quick as I would have hoped a second time.

In the mean time, as I was procrastinating hand hemming the legs, I started fitting another pattern - the next thing in the Colette Sewing Handbook, a shift dress of sorts. I'm having a very hard time with this one! I did the same adjustments I did for the Cambie dress (shortened the bodice, swayback, FBA). Colette patterns are built for a C cup instead of the standard B, so I did a smaller FBA. But wow, the muslin did not fit.

I think it's just too big in the bust. I cut a 12 top to a 16 at the waist, and all that seemed okay, but perhaps I overdid the FBA. Just a touch. :) It's also too short in the middle. And I couldn't get a good picture of the back, but it was TERRIBLE - still too long, I think, and weirdly blousy.

Looking at the back pieces again, I think the problem is that the darts were shortened when I shortened the pattern, and I should have redrawn then back to the original length. And for the front, I've gone down to a 1 1/2" FBA. Once I can get the bodice part fitted properly, I can look at the length again. And this time I'm going to remember to make adjustments to the facing pattern pieces as well.


Thursday, May 30, 2013

The Sewaholic Cambie


This dress! THIS DRESS. I may never make anything again, other than this dress over and over again, I love it that much. I can't wait to try it again with the full skirt (although I'm totally thrilled with how the a-line fits).

It's the Cambie dress from Sewaholic. I did have to make a ton of adjustments to the top (full bust adjustment, add side darts, shorten front and back, take a tuck out of the back for my swayback), but I think it's a very well crafted pattern, and the dress itself was very easy to sew (even with a full lining!).

Of course, by the time I sewed the real thing I'd already made 3 muslins, so that might be why it was so quick...

The perks of custom fit: I think this is the first dress I've owned since I was 13 where the front waistband didn't end up sitting higher than the back. In fact, it's actually lower, because that's how my natural waistband is due to my terrible posture (aka sway back).

Also, I'm in love with the fabric.

So there you have it - it took 2 months, but it was totally worth it. I even got it finished in time to wear in New York for my parents' choir concert. And one day I'm going to have a closet full of Cambies.

Saturday, April 27, 2013

Dress update

I'm actually enjoying doing the fitting adjustments on this dress - surprise!

When we last spoke, I'd made adjustments on the bodice, moved the darts, and had the side seams come out all uneven. So I made a new version of the pattern piece for the front bodice, with my adjusted darts, and evened out the side seam. Then cut out a new muslin of the top.

Here's where I am now: I had to shorten the shoulders - on the front I took it from the straps, and on the back I shortened the whole thing. Amazingly, this made the side seams the same length as the front (they were longer before). Awesome thing #1: I sewed up the back where the zipper will go, and still managed to squish it on, which helped immensely - I can't really figure out how to adjust the back by myself with my short arms, but at least I can see where the problem is! I do need to do a sway back adjustment, since the back is dipping down below my waist. And my adjustments to make the side seams straight means the bottom of the bodice is now bigger than the waistband, so I need to figure that out. Maybe make the darts from the waist bigger? Or just redraw the seams. Phew!


It's kind of hard to see with my crap self-portraits, but in the second photo on the right you can see that the back is dipping below my waist, and is also wrinkling around there. You can see the imbalance a bit in the last photo too. Also, please enjoy my pyjama pants.

Awesome thing #2: the fact that I managed to take a photo of my back in the mirror. SKILLS.

Update! I made the swayback adjustment, which seems to have worked well. And the waistband seems to fit to the skirt now, which makes no sense to me, but okay. Having sewed the waistband on, though, I suspect it's a bit too short right in the front. And possibly too large around the waist. I may be making yet one more copy of the shirt front pattern pieces. I'll attach the skirt and see how it works first.

(As for the ongoing shirt, my adjustment worked this time, hooray! And then I futzed with seam finishes for a while. I'm now ignoring it because the next step is to trim the edges with bias tape, which scares me a little.)

Sunday, February 3, 2013

Dress Me Up

I made a dress! Although I suppose the more exciting part is that I FINISHED a dress.

The bad news is that I didn't meet my January goal of finishing up my two UFOs (the shirt and the dress). But I was only 2 days late, so that basically counts, right? Good enough!

I'm pretty happy with it. It's fully lined, which was the reason I picked this pattern from the list for the course (actually the pattern had only the top lined, but I added a lining to the skirt) - that was a trick I wanted to learn. And the fabric was a fabulous gift from my friend K in England. It is, however, very definitely not perfect.

 This is a perfect gathered sleeve.


This...is not. It's so flat!


Whoops - my seams don't match up. Yikes.


And the pattern really doesn't match up. Look at those circles! In my defense I had barely enough fabric for the pattern. I actually had to shorten it quite a bit in order to fit all the pieces onto the fabric, but I'm pretty short, so it worked out to be the right length.


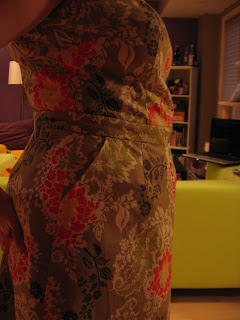
The waist is too short in the front (my hand is at my natural waist). That's because I didn't do a proper full bust adjustment - I just faked it by cutting the top in the same size as the bottom (instead of 2 sizes smaller, which is my actual size minus the boobs), and pinning to fit. So of course the whole thing is hiked up in order to fit over the ladies.


Here's the thing, though: I don't care. I like the dress! Sure, it's not perfectly fit and gorgeously tailored, but it has awesome material and I will totally wear it. 

...when it's not winter.

Saturday, November 3, 2012

Future projects

I'm very close to the end of the shirt that I've been making forever. Side note: it's very depressing to see that you only have 2 steps left in the instructions (woo!), only to realize that one is a ton of hand sewing, and the other is make buttonholes and sew on buttons. Sigh.

Anyway.

I'm very close to the end of the shirt, and not quite as close to the end of the dress that I'm making in class. Side note #2: this is taking me way longer than I expected. It's embarrassing to admit, but I thought I'd be faster than the rest of the class. Not that I'm a super fast sewer (I'm actually incredibly slow), but I have made a few things on my own, so I figured I'd just need a little help with the fitting and then I'd be off. Oh, the irony! I think I'm probably the farthest from finished in the class.

Anyway. Again.

I'm very close to the end of the shirt, and not quite as close to the end of the dress that I'm making in class. And I need to get started on the shirt I'm making for my dad for Christmas. But I can't help thinking of starting new projects. And despite my best intentions, I seem to have developed a stash, both patterns and fabric. So I decided to do a little matching, indulge my interest in starting something new, and plan my next couple of projects.

I'm not convinced that this is the best fabric for the shirt, being just a basic cotton, but I think the pattern would look so cute.

This is from the Colette Sewing Handbook - it's a sewing guide arranged around a series of patterns that increase in difficulty. This is the first one. The fabric is a fairly heavy cotton so that the scallops will hang properly. And it's purple, if you can't tell - purple is so hard to photograph well.

Is that not a ridiculously cute pattern and a ridiculously cute fabric? I bought it to make for a wedding this summer. If I start now, maybe I can finish it in time for next summer.

This is the other pattern I bought for the class. I would really like to learn to make trousers.

This is one of the first patterns I bought. I think it's time to use it. I might buy some other fabric to make the contrasting bottom band.

I've been putting this one off because fitting issues, but I still like it.

So, what do you think? Which one should I start first? And by first, I mean probably not until January.

Thursday, September 27, 2012

Skipping ahead

Well, my wee audience, I've had a half a post going for ages now, waiting for me to upload photos, but I'm going to jump ahead and come back to that post. Because I've started another sewing class!

This time it's the advanced beginner, where you do your choice of project from a set list of patterns. I knew I wanted to do something more complicated - definitely not another skirt! My lastest obsession is proper fitting, so I decided to do either a pair of trousers (because how amazing would it be to be able to sew pants that actually fit?) or a dress (fitting the bodice; lining). In the end I decided to do the dress, even though it's going to be far too cold to wear it, because I really want to figure out how to deal with my top and bottom being different sizes.

Did you know that you should always start with a pattern that's the right size for the top, and then adjust from there? And that most patterns are built for a B cup? Two very important things that I've learned in my readings, particularly of the fantastic book, Fit for Real People. According to that book, you measure your high bust (under the arms, above the bust) instead of your actual bust, and start with that pattern size so that the shoulders and back fit properly. And then you make a Full Bust Adjustment if needed (or a Small Bust Adjustment, but that's not happening here).

So I did that, but I made the rookie mistake in not really believing my measurements. I ended up cutting one size smaller on top than bottom, because that fit with my regular bust size. I did a tissue fitting the first class (pinning the pattern on myself along the seam allowances), mostly to check the bust and the back length. And it seemed okay. But clearly I wasn't looking closely enough, because when I tried on my bodice once it was sewn (in the second class), it was really obvious that I should have cut one size smaller - it was quite big in the back and around the armholes.  Plus it was a bit short in the front (because I didn't give myself the extra room with the FBA) and long in the back (because I am short-waisted). Basically all the problems I have with ready-to-wear dressses.

Next time, I tell you.

Anyway, the teacher pinned me up and I'm going to resew the seams, plus attempt to sew the lining with the new seams. It's mostly rescued, but it was an excellent lesson in what I'll need to do next time: cut 2 sizes smaller on top, do an FBA, shorted the back length and the shoulders, and do a good tissue fitting.

More to come!